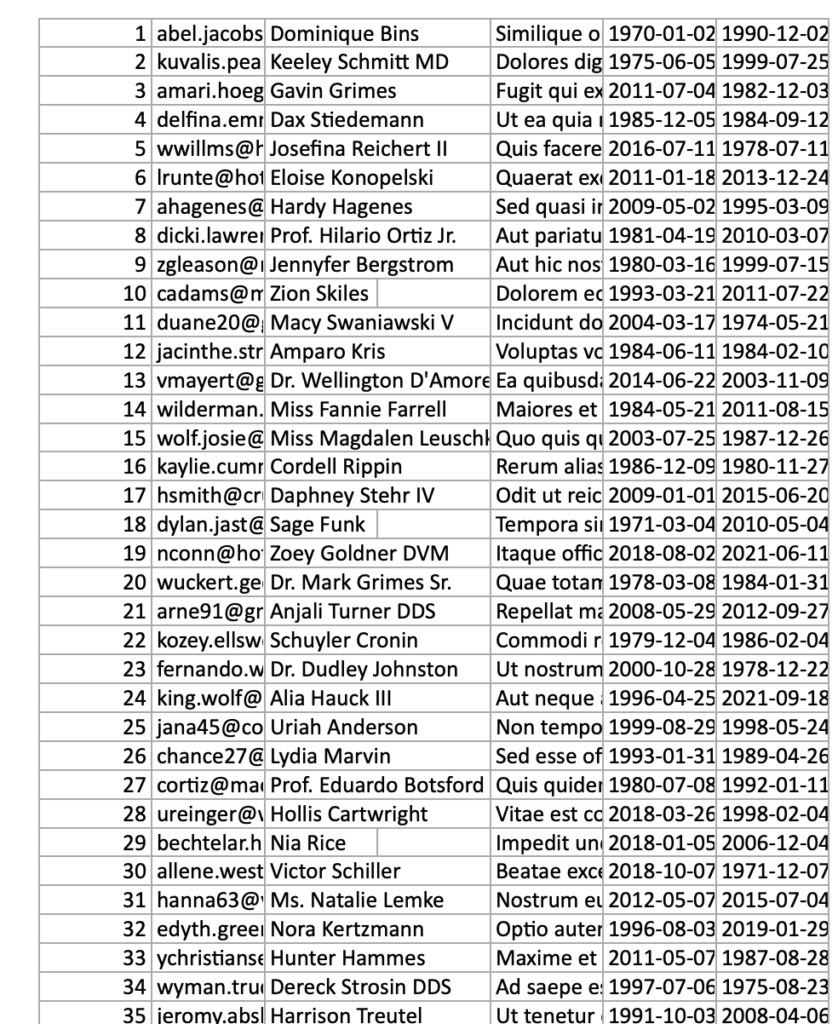
Excel or CSV are used to store large set of data to analyses and for reporting. In this article we will learn to import excel or CSV in laravel. This tutorial is best fit to you if you want to understand the basic of import in database table with custom logic.
Laravel maatwebsite/excel uses phpspreadsheet to simplify the task of import and export. maatwebsite/excel package is wrapper around PhpSpreadsheet package. It gives much more flexibility and easy to use PhpSpreadsheet package through its Import object and encapsulates all logic.
In this example we will create a simple example to Import excel in database table. For this we will create a database, table, model, controller and simple view for html.
Let’s understand Import or Convert Excel/CSV to HTML in laravel 8 / 9 with simple example
Step 1 : Install the package
I assume the you have already installed the laravel and basic connection of it like database connection and composer.
Now install the package using composer in laravel root directory, open the terminal in laravel root directory and run below command to install maatwebsite/excel the package. This package has good stars on github and has lot of fan base of artisans
composer require maatwebsite/excelRegister Providers & Aliases
Add the following code the config/app.php file
'providers' => [
  .......
  .......
  .......
  Maatwebsite\Excel\ExcelServiceProvider::class,

 ],
'aliases' => [
  .......
  .......
  .......
  'Excel' => Maatwebsite\Excel\Facades\Excel::class,
],
Step 2 : Create a table and model
Now, for an example i am creating here a table using migration and then i am going to fill the data in it, so create model and migration
php artisan make:model Article -mthis will generate the model and migration file
<?php

namespace App\Models;

use Illuminate\Database\Eloquent\Factories\HasFactory;
use Illuminate\Database\Eloquent\Model;

class Article extends Model
{
    use HasFactory;
    protected $fillable = ['email',"title","body"];
}
Here Make sure you added the protected $fillable property with column names you want mass assignment from import.
and migration file database/migrations/timestamp_create_articles_table.php
<?php

use Illuminate\Database\Migrations\Migration;
use Illuminate\Database\Schema\Blueprint;
use Illuminate\Support\Facades\Schema;

class CreateArticlesTable extends Migration
{
    /**
     * Run the migrations.
     *
     * @return void
     */
     public function up()
    {
        Schema::create('articles', function (Blueprint $table) {
            $table->id();
            $table->string('email')->unique();;
            $table->string('title');
            $table->string('body');
            $table->timestamps();
        });
    }

    /**
     * Reverse the migrations.
     *
     * @return void
     */
    public function down()
    {
        Schema::dropIfExists('articles');
    }
}
and then migrate the migration
php artisan migrateStep 3 : Create Import Class
In new version of maatwebsite module it’s required to create a class for each import and we need to implement Import interface in class, then we can use this class in our controller to Import or download
So create a class by following artisan command
php artisan make:import ArticlesImport --model=ArticleThis command will create the following file in path app/Imports/ArticlesImport.php.
<?php

namespace App\Imports;

use App\Models\Article;
use Maatwebsite\Excel\Concerns\ToModel;

class ArticlesImport implements ToModel
{
    /**
    * @param array $row
    *
    * @return \Illuminate\Database\Eloquent\Model|null
    */
    public function model(array $row)
    {
        return new Article([
            'email'     => $row[0],
           'title'    => $row[1],
           'body' =>  $row[2]
        ]);
    }
}
Here we are importing email, title and body from excel
        return new Article([
            'email'     => $row[0],
           'title'    => $row[1],
           'body' =>  $row[2]
        ]);
Step 3 : Create controller
Let’s create a controller and add a methods showArticle and importArticles
php artisan make:controller ArticleControllerand add the below code
<?php

namespace App\Http\Controllers;
use Illuminate\Http\Request;
use App\Models\Article;
use Maatwebsite\Excel\Facades\Excel;
use App\Imports\ArticlesImport;

class ArticleController extends Controller {
    // Show products
    public function showArticle(Request $request){

       $articles = Article::all();
       return view('articles.article',['articles'=>$articles]);
    }

    function importArticles(){

        Excel::import(new ArticlesImport, request()->file('import_file'));
        return back();

    }

}
here we added showArticle method to show the list of articles and importArticle to import the articles list in the database.
Step 5 : Create the views
Create a view resource/articles/article.blade.php
<!DOCTYPE html>
<html lang="{{ str_replace('_', '-', app()->getLocale()) }}">

<head>
  <meta charset="utf-8">
  <meta name="viewport" content="width=device-width, initial-scale=1">

  <title>Readerstacks Import or Convert Excel/CSV to HTML in laravel 8 / 9</title>

  <script src="https://code.jquery.com/jquery-3.6.0.min.js" crossorigin="anonymous"></script>
  <script type="text/javascript" src="https://cdnjs.cloudflare.com/ajax/libs/jquery-validate/1.19.1/jquery.validate.min.js"></script>
  <link href="//netdna.bootstrapcdn.com/bootstrap/4.1.1/css/bootstrap.min.css" rel="stylesheet" />

</head>

<body class="antialiased">
  <div class="container">
    <!-- main app container -->
    <div class="readersack">
      <div class="container">
        <div class="row">
          <div class="col-md-12 ">
            <h3>Import or Convert Excel/CSV to HTML in laravel 8 / 9 - Readerstacks</h3>


            <form id="import" action='{{url("article-import")}}' enctype="multipart/form-data" method="post" name="import">
                 @csrf
                <div class="form-group">
                  <label>Upload File</label>
                  <input type="file" name="import_file"   class="form-control" />


                </div>
                <button class='btn btn-success' >Import</button>
              </form>
            <div id="search">

              <form id="searchform" name="searchform">
                <div class="form-group">
                  <label>Search by Title</label>
                  <input type="text" name="title" value="{{request()->get('title','')}}" class="form-control" />


                </div>
                <div class="form-group">
                  <label>Search by body</label>
                  <input type="text" name="body" value="{{request()->get('body','')}}" class="form-control" />


                </div>
                <button class='btn btn-success' >Search</button>
              </form>


            </div>

            <div id="pagination_data">
              <table class="table table-striped table-dark table-bordered">
                <tr>
                  <th>Sr No.</th>
                  <th>Title</th>

                  <th>Body</th>

                  <th>Date</th>
                </tr>
                @foreach($articles as $article)
                <tr>
                  <td>{{$article->id}}</td>
                  <td>{{$article->title}}</td>

                  <td>{{substr($article->body,0,50)}}</td>
                  <td>{{$article->created_at}}</td>
                </tr>
                @endforeach
              </table>

            </div>
          </div>
        </div>
      </div>
    </div>
    <!-- credits -->
    <div class="text-center">
      <p>
        <a href="#" target="_top">Import or Convert Excel/CSV to HTML in laravel 8 / 9</a>
      </p>
      <p>
        <a href="https://readerstacks.com" target="_top">readerstacks.com</a>
      </p>
    </div>
  </div>

</body>

</html>
Step 6 : Create Routes
Last step is to create the routes to show the form and submit the form
<?php

use Illuminate\Support\Facades\Route;
use \App\Http\Controllers\ArticleController;


Route::get('/article-view',[ArticleController::class, 'showArticle']);
Route::get('/article-import',[ArticleController::class, 'importArticles']);
ScreenShot


