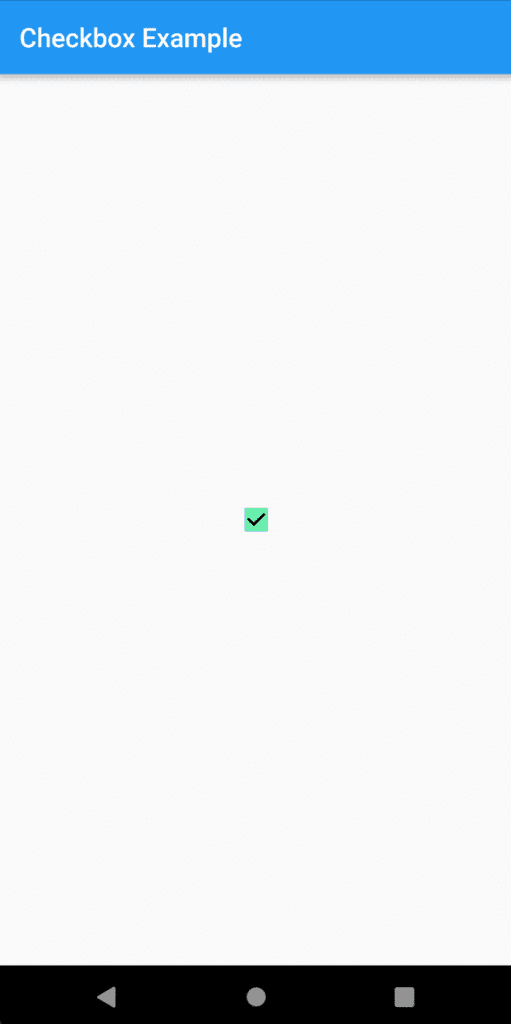
In this tutorial we will learn to create checkbox in flutter application. Checkbox is used to provide multiple options to users and they can select multiple value for same input. Usage of checkbox input can be for remember me, check terms and condition, multiple answers questions choices and etc.
Flutter providers most of the widgets and input like checkbox, text field, password, textarea and in this article we will create the simple checkbox with check and uncheck values.
You can simple create checkbox as follow
Checkbox(
      value: rememberMe,
      onChanged:(bool newValue){
        setState((){
        rememberMe=newValue;
        });
      }
);
Checkbox with label in flutter
In flutter we can also create checkbox with label using the CheckboxListTile widget. CheckboxListTile accepts title in which we can define the text of label as follow
 CheckboxListTile(
    title: Text("title text"),
    value: checkedValue,
    onChanged: (newValue) { ... },
  )
Let’s understand create checkbox in Flutter Application with an example
Step 1 : Create flutter project
Very first step is to create the fluter application using command line tool or in Android studio.
flutter create example_appThis will create a new project with name my_app then go in to the folder .
Step 2 : Create a simple widget
Now, Create a simple statefull widget to create the checkbox
File : lib/checkboxexample.dart
class CheckBoxExample extends StatefulWidget {
  const CheckBoxExample({Key? key}) : super(key: key);

  @override
  State<CheckBoxExample> createState() => _CheckBoxExampleState();
}

class _CheckBoxExampleState extends State<CheckBoxExample> {
  bool checkedValue=false;
  @override
  Widget build(BuildContext context) {
    return Scaffold(
      appBar: AppBar(
        title: const Text('Checkbox Example '),
      ),
      body:Center(
        child: Checkbox(
          value: checkedValue,
          activeColor: Colors.greenAccent,
          checkColor: Colors.black,


          onChanged: (bool ?value){
            setState(() {
              checkedValue=value!;
            });
          },

        ),
      ),
    );
  }
}
Step 3: Import and use the widget in main
We just created a new widget with name CheckBoxExample, now we are going to use it in our main.dart file as below
import 'package:flutter/material.dart';
import 'package:example_app/checkboxexample.dart';;

void main() {
  runApp(const AppRouter());
}

class AppRouter extends StatelessWidget {
  const AppRouter({Key? key}) : super(key: key);
  @override
  Widget build(BuildContext context) {
    return const MaterialApp(
        debugShowCheckedModeBanner: false,
        title: 'Remove Banner',
        home:  CheckBoxExample()
    );

  }
}
Step 4 : Update main.dart file
Now, open the main.dart file and add the debugShowCheckedModeBanner with value false to Material App
File : lib/main.dart
import 'package:example_app/assetimagedemo.dart';
import 'package:flutter/material.dart';

void main() {
  runApp(const MyApp());
}

class MyApp extends StatelessWidget {
  const MyApp({Key? key}) : super(key: key);

  // This widget is the root of your application.
  @override
  Widget build(BuildContext context) {
    return MaterialApp(
      debugShowCheckedModeBanner: false,  // <-- add this
      title: 'Flutter Demo',
      theme: ThemeData(
        primarySwatch: Colors.blue,
      ),
      home: const  Container(child:Text("Test")),
    );
  }
}
Step 5: Run the project
Simply run the project using command line or in android studio to check the implementation.
flutter run lib/main.dartScreenshot :

Read Also : How to create routing in flutter and pass parameters to routes ?


