Today most of the applications are using laravel otp login and registration without password for ease of login and registration and also provides easy to login without remembering the password each time while login or register. In Laravel there is multiple ways to implement the login and registration like Laravel provides its own auth with packages Jetstream, passport,sanctum, breeze and fortify.
These all packages are easy to install and configure but sometimes our application requirement and design patterns are different or we can say we want fully customized solution. Therefore we have already covered simple login and registration in out last article and today i am going to share OTP Login and Registration Without Password using Ajax.
This example will work in all version of laravel including laravel 5, laravel 6, laravel 7, laravel 8 and laravel 9. In example we will use session to store the otp token and mail services to send the otp you can also use phone number and sms services to send the otp to mobile as well.
For this tutorial we will use jQuery for Ajax request and form validation. Bootstrap for better ui experience.
Let’s begin the tutorial of Laravel OTP Login and Registration Without Password step by step
Step 1: Create a laravel project
First step is to create the Laravel project using composer command or you can also read the How to install laravel 8 ? and Laravel artisan command to generate controllers, Model, Components and Migrations
composer create-project laravel/laravel example-appStep 2: Configure database and table
Next step is to configure the database for our project, table and data. I assuming you have created the database using MySQL command line or phpMyAdmin then open .env or if file not exist then rename .env.example file to .env file in root folder and change database details accordingly.
DB_CONNECTION=mysql
DB_HOST=127.0.0.1
DB_PORT=3306
DB_DATABASE=test
DB_USERNAME=root
DB_PASSWORD=password
Next, Laravel comes with default users, reset password etc migration and user model. Thus run the artisan command to create the user table in database using below command in command line(root directory of project)
php artisan migrateStep 3: Create a Controller
Now, Create a controller manually in app\Http\Controllers or create using artisan command
php artisan make:controller AuthControllerAbove command will create a controller in app\Http\Controllers\AuthController.php and now open the controller and replace code.
<?php

namespace App\Http\Controllers;

use Illuminate\Http\Request;
use Illuminate\Support\Facades\Validator;
use App\Models\User;
use Illuminate\Support\Facades\Crypt;

class AuthController extends Controller
{


    function registerLoginView()
    {
        return view("login");
    }

    function sendOtp(Request $request)
    {
        $validator = Validator::make($request->all(), [
            'email' => 'required|email',   // required and email format validation
        ]); // create the validations
        if ($validator->fails())   //check all validations are fine, if not then redirect and show error messages
        {
            return response()->json($validator->errors(), 422);
            // validation failed return with 422 status

        } else {
            //validations are passed try login using laravel auth attemp
            $otp = rand(1000, 9999);

            $time = time();
            $email = $request->email;
            // Or you can stroe it in table
            $encryptedOtpTokenStr = json_encode(["o" => $otp, "t" => $time, "e" => $email]);
            $secret = Crypt::encryptString($encryptedOtpTokenStr);
            \Session::put("logintoken", $secret);

            //you can send sms here as well if its a phone number
            // \Mail::to($email)->send(new \App\Mail\OtpMail($otp));

            $response = ['status' => true, "message" => "Otp sent to your email address"];

            return response()->json($response);
        }
    }

    function verifyOtpAndLogin(Request $request)
    {

        $validator = Validator::make($request->all(), [
            // required and email format validation
            'otp' => 'required',

        ]); // create the validations
        if ($validator->fails())   //check all validations are fine, if not then redirect and show error messages
        {
            return response()->json($validator->errors(), 422);
            // validation failed return with 422 status

        } else {
            try {
                $decryptedString = Crypt::decryptString(\Session::get("logintoken"));
                $json            = json_decode($decryptedString);
                $time            = time();

                if (($time - $json->t) <= 120) { // check otp is not expired (Expiration time 120 seconds which 2 min you can increase)

                    if ($json->o == $request->otp) {
                        if (User::whereEmail($json->e)->count() <= 0) {
                            $user =  new User;
                            $user->email = $json->e;
                            $user->username = '';
                            $user->phone_number = "";
                            $user->save();
                        } else {
                            $user = User::whereEmail($json->e)->first();
                        }
                        \Auth::guard()->login($user);
                        \Session::forget("logintoken");
                        return response()->json(["status" => true, "msg" => "login successful", "redirect_location" => url("dashboard")]);
                    }
                }
                return response()->json([["Invalid OTP or Request2"]], 422);
            } catch (\Exception $e) {
                return response()->json([["Invalid OTP or Request1", $e->getMessage()]], 422);
            }
        }
    }


    // show dashboard
    function dashboard()
    {
        return view("dashboard");
    }

    // logout method to clear the sesson of logged in user
    function logout()
    {
        \Auth::logout();
        return redirect("login")->with('success', 'Logout successfully');;
    }
}
Here we have used Illuminate\Support\Facades\Validator to validate the input fields, Auth class to authenticate user in Laravel.
we created method registerLoginView to show login and register page on same view where if a user is already exist then it will login otherwise it will register a new user.
sendOtp to send the otp to user email or phone number , here this method we used Crypt library to encrypt the random otp, email and time. Time is used to allow users to use otp for specific time then we saved the token into session.
verifyOtpAndLogin method use for verifying the otp so we will match the input otp by user and session otp with given time and create the session of user using Auth::login() and here the which is noticeable is we have change the response()->json(), dashboard to show dashboard page after login and logout to destroy the session.
There is no need to set session manually in Laravel, Laravel creates own session using Auth::login() method and we can get current logged in user using \Auth::user().
Step 4 : Generate Mailable Class
This is optional step if you are using sms service for otp, In laravel 8 or 9 every mail is implements mailable class thus first we need to create a mail class as follow or read How to Send Mail in Laravel Through Gmail SMTP ?
php artisan make:mail OtpMailThis will create a class in following location App\Mail\OtpMail.php
Update the code as below
<?php

namespace App\Mail;

use Illuminate\Bus\Queueable;
use Illuminate\Contracts\Queue\ShouldQueue;
use Illuminate\Mail\Mailable;
use Illuminate\Queue\SerializesModels;

class OtpMail extends Mailable
{
    use Queueable, SerializesModels;
    private $otp;
    /**
     * Create a new message instance.
     *
     * @return void
     */
    public function __construct($otp)
    {
        $this->otp=$otp;
    }

    /**
     * Build the message.
     *
     * @return $this
     */
    public function build()
    {
        return $this->from('info@readerstacks.com')
        ->subject('OTP for login from readerstacks.com')
        ->view('email-otp',["otp"=>$this->otp,"title"=>"OTP"]);
    }
}
Step 5: Create views
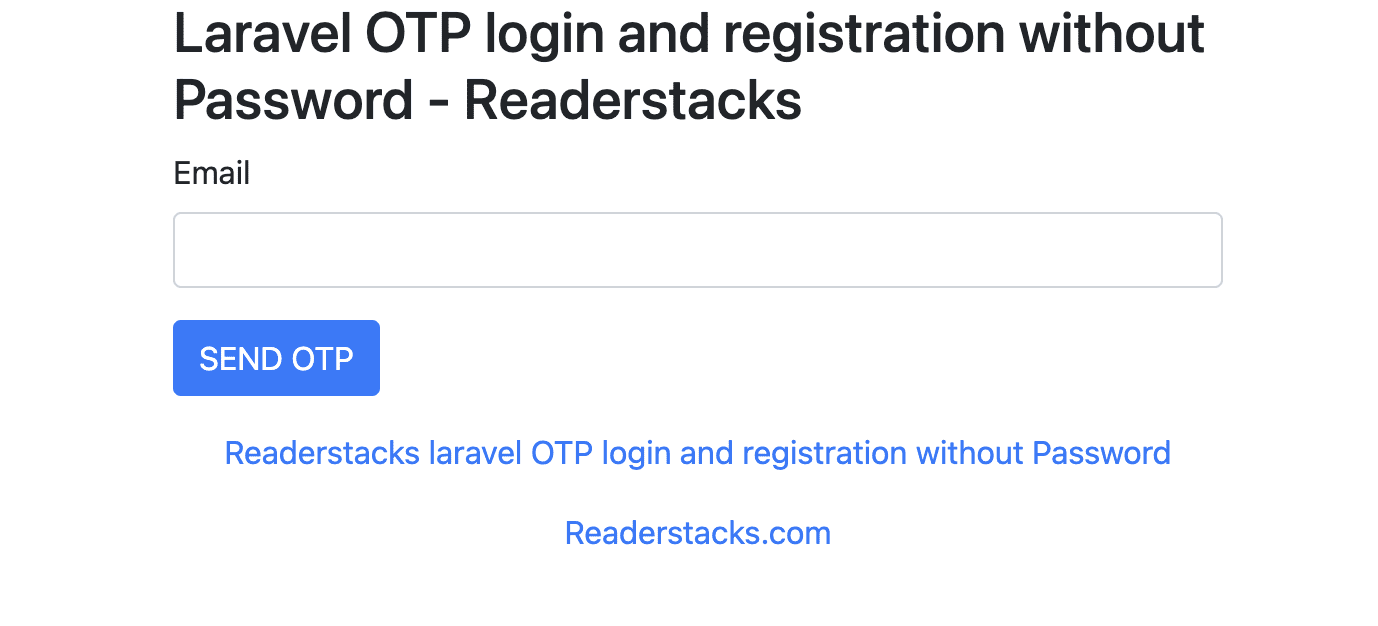
We have created logic for login and register, now its time to create our view to show the form of login and dashboard thus here is the view
<!DOCTYPE html>
<html lang="{{ str_replace('_', '-', app()->getLocale()) }}">

<head>
    <meta charset="utf-8">
    <meta name="viewport" content="width=device-width, initial-scale=1">

    <title>Readerstacks laravel OTP login and registration without Password </title>

    <script src="https://code.jquery.com/jquery-3.6.0.min.js" crossorigin="anonymous"></script>
    <script type="text/javascript" src="https://cdnjs.cloudflare.com/ajax/libs/jquery-validate/1.19.1/jquery.validate.min.js"></script>
    <link href="//netdna.bootstrapcdn.com/bootstrap/4.1.1/css/bootstrap.min.css" rel="stylesheet" />
    <script src="https://maxcdn.bootstrapcdn.com/bootstrap/3.3.7/js/bootstrap.min.js"></script>
    <script type="text/javascript" src="index.js"></script>
    <style>
        .error {
            color: red
        }
    </style>
</head>

<body class="antialiased">
    <div class="container">
        <!-- main app container -->
        <div class="readersack">
            <div class="container">
                <div class="row">
                    <div class="col-md-6 offset-md-3">
                        <h3>Laravel OTP login and registration without Password - </h3>

                        <div id="errors-list"></div>
                        <form method="post" id="handleAjax" action="{{url('send-otp')}}" name="postform">
                            <div class="form-group">
                                <label>Email</label>
                                <input type="email" name="email" value="{{old('email')}}" class="form-control" />
                                @csrf
                            </div>

                            <div class="form-group">
                                <button type="submit" class="btn btn-primary">SEND OTP</button>
                            </div>
                        </form>
                    </div>
                </div>
            </div>
        </div>
        <!-- credits -->
        <div class="text-center">
            <p>
                <a href="#" target="_top">Readerstacks laravel OTP login and registration without Password </a>
            </p>
            <p>
                <a href="https://readerstacks.com" target="_top"> </a>
            </p>
        </div>
    </div>
    <div class="modal" id='modal' tabindex="-1" role="dialog">
        <div class="modal-dialog" role="document">
            <div class="modal-content">
                <form method="post" id="handleAjaxVerifyOtp" action="{{url('verify-otp-login')}}" name="postform">
                    <div class="modal-header">
                        <h5 class="modal-title">Verify OTP</h5>
                        <button type="button" class="close" data-dismiss="modal" aria-label="Close">
                            <span aria-hidden="true">×</span>
                        </button>
                    </div>
                    <div class="modal-body">
                        <div class="container">
                            <div class="row">
                                <div class="col-md-6 offset-md-3">


                                    <div id="errors-list-verify"></div>

                                    <div class="form-group">
                                        <label>OTP</label>

                                        <input type="text" name="otp" value="" class="form-control" />
                                        @csrf
                                    </div>


                                </div>
                            </div>
                        </div>
                    </div>
                    <div class="modal-footer">
                        <button type="submit" class="btn btn-primary">Verify</button>
                        <button type="button" class="btn btn-secondary" data-dismiss="modal">Close</button>
                    </div>
                </form>
            </div>
        </div>
    </div>

</body>
<script>
    $(function() {

        // handle submit event of form
        $(document).on("submit", "#handleAjax", function() {
            var e = this;
            // change login button text before ajax
            $(this).find("[type='submit']").html("SENDING...");
            $(this).find("[type='submit']").prop("disabled", true);
            $.post($(this).attr('action'), $(this).serialize(), function(data) {

                $(e).find("[type='submit']").html("SEND OTP");
                $(e).find("[type='submit']").prop("disabled", false);
                if (data.status) { // If success then redirect to login url

                    $('#modal').modal('show');
                }
            }).fail(function(response) {
                // handle error and show in html
                $(e).find("[type='submit']").html("SEND OTP");
                $(e).find("[type='submit']").prop("disabled", false);
                $(".alert").remove();
                var erroJson = JSON.parse(response.responseText);
                for (var err in erroJson) {
                    for (var errstr of erroJson[err])
                        $("#errors-list").append("<div class='alert alert-danger'>" + errstr + "</div>");
                }

            });
            return false;
        });
        $(document).on("submit", "#handleAjaxVerifyOtp", function() {
            var e = this;
            // change login button text before ajax
            $(this).find("[type='submit']").html("Verifying...");
            $(this).find("[type='submit']").prop("disabled", true);
            $.post($(this).attr('action'), $(this).serialize(), function(data) {

                $(e).find("[type='submit']").html("VERIFY");
                $(e).find("[type='submit']").prop("disabled", false);
                if (data.status) { // If success then redirect to login url
                    window.location = data.redirect_location;
                }
            }).fail(function(response) {
                // handle error and show in html
                $(e).find("[type='submit']").html("VERIFY");
                $(e).find("[type='submit']").prop("disabled", false);
                $(".alert").remove();
                var erroJson = JSON.parse(response.responseText);
                for (var err in erroJson) {
                    for (var errstr of erroJson[err])
                        $("#errors-list-verify").append("<div class='alert alert-danger'>" + errstr + "</div>");
                }

            });
            return false;
        });
    });
</script>

</html>
Here we used id='handleAjax' and to handle it in javascript
In above code we bind submit event and then sending Ajax request to laravel.
In the register form we have used $errors->any() to show form errors and then login view
<!DOCTYPE html>
<html>
<head>
    <title>Readerstacks.com</title>
</head>
<body>
    <h1>Hello </h1>

    <p>Your OTP for login is {{$otp}}</p>
    <p>Thanks to visit us.</p>

</body>
</html>
Same as login we assigned id to form and handle the event in jquery . Dashboard view
<!DOCTYPE html>
<html lang="{{ str_replace('_', '-', app()->getLocale()) }}">

<head>
  <meta charset="utf-8">
  <meta name="viewport" content="width=device-width, initial-scale=1">

  <title>Readerstacks laravel OTP login and registration without Password  </title>

  <script src="https://code.jquery.com/jquery-3.6.0.min.js" crossorigin="anonymous"></script>
  <script type="text/javascript" src="https://cdnjs.cloudflare.com/ajax/libs/jquery-validate/1.19.1/jquery.validate.min.js"></script>
  <link href="//netdna.bootstrapcdn.com/bootstrap/4.1.1/css/bootstrap.min.css" rel="stylesheet" />
  <script type="text/javascript" src="index.js"></script>
  <style>
    .error {
      color: red !important
    }
    .dash{
      height: 400px;
      justify-content: center;
      align-items: center;
      font-size: 20px;
      font-weight: bold;
      display: flex;
      color:green;
      flex-direction: column;

    }
  </style>
</head>

<body class="antialiased">
  <div class="container">
    <!-- main app container -->
    <div class="readersack">
      <div class="container">
        <div class="row">
          <div class="col-md-6 offset-md-3">
            <h3>Readerstacks laravel OTP login and registration without Password </h3>
               <!-- Show any success message -->
            @if (\Session::has('success'))
                <div class="alert alert-success">
                    <ul>
                        <li>{!! \Session::get('success') !!}</li>
                    </ul>
                </div>
            @endif
          <!-- Show any success message -->

            <!-- Check user is logged in -->
            @if(\Auth::check())
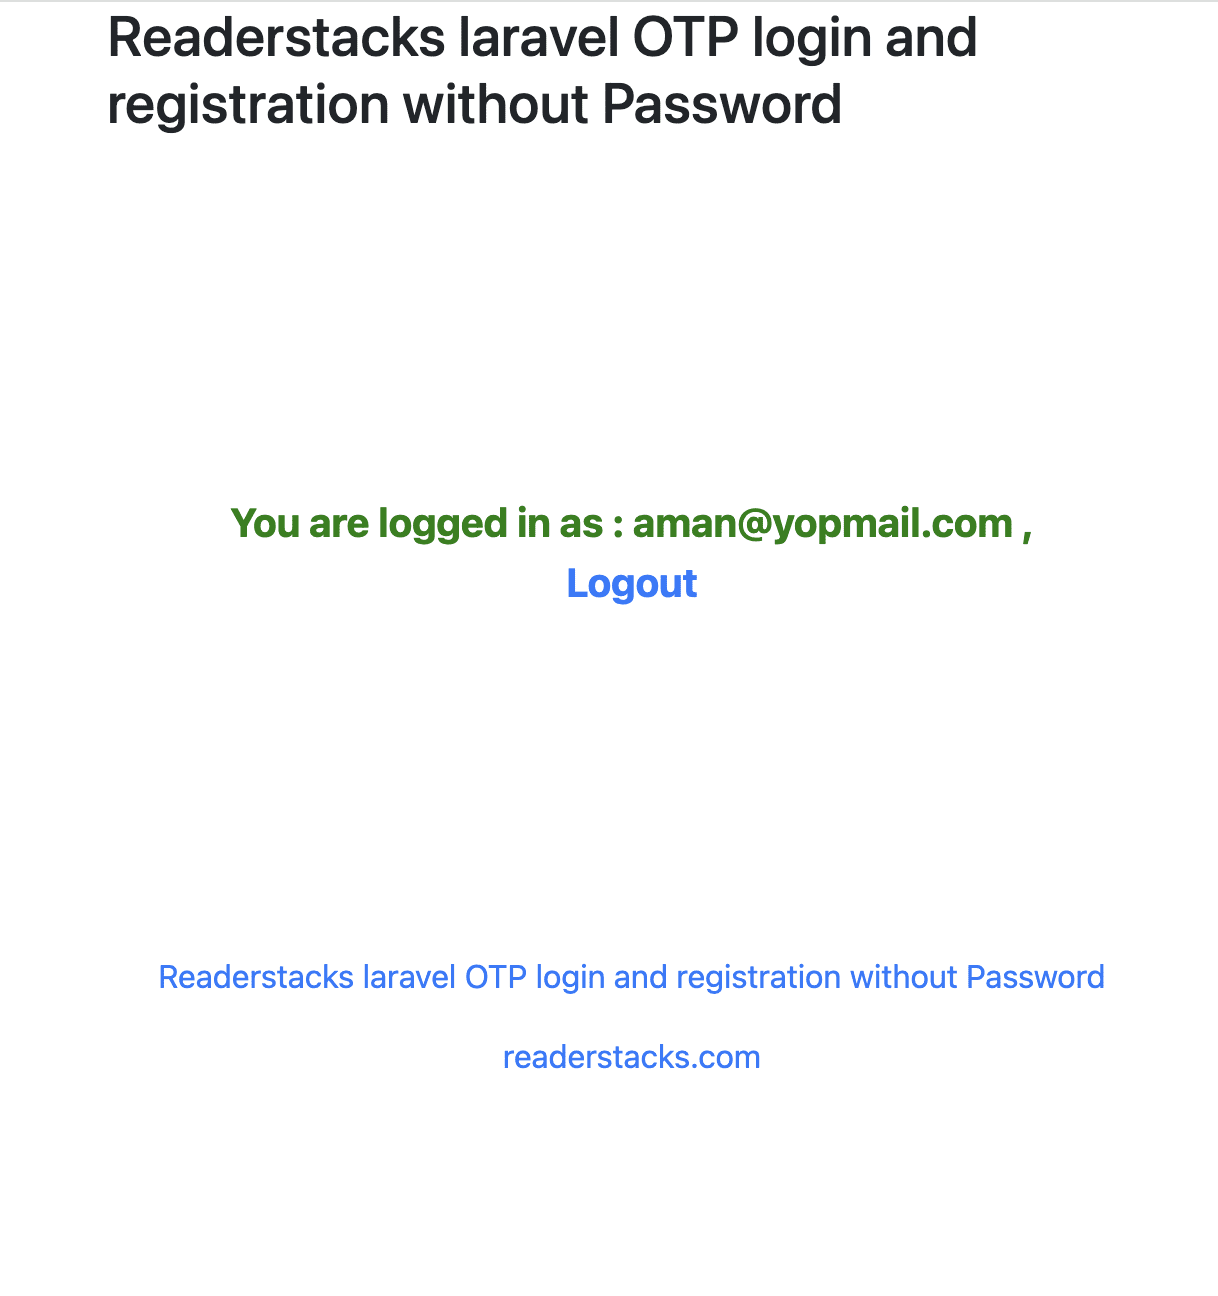
              <div class='dash'>You are logged in as  : {{\Auth::user()->email}} ,  <a href="{{url('logout')}}"> Logout</a></div>
            @else
            <div class='dash '>
              <div class='error'> You are not logged in  </div>
              <div>  <a href="{{url('login')}}">Login</a> | <a href="{{url('register')}}">Register</a> </div>
            </div>

            @endif
           <!-- Check user is logged in -->
          </div>
        </div>
      </div>
    </div>
    <!-- credits -->
    <div class="text-center">
      <p>
        <a href="#" target="_top">Readerstacks laravel OTP login and registration without Password   </a>
      </p>
      <p>
        <a href="https://readerstacks.com" target="_top">readerstacks.com</a>
      </p>
    </div>
  </div>

</body>
</html>
As we mentioned above we can check user logged in status using \Auth::check and \Auth::user() to get current logged in user.
Step 5: Create routes
Now, create the routes for all pages and method in routes\web.php
<?php

use App\Http\Controllers\AuthController;
use Illuminate\Support\Facades\Route;


Route::get('/login', [AuthController::class,"registerLoginView"]);
Route::post('/send-otp', [AuthController::class,"sendOtp"]);
Route::post('/verify-otp-login', [AuthController::class,"verifyOtpAndLogin"]);
Route::get('/dashboard', [AuthController::class,"dashboard"]);
Route::get('/logout', [AuthController::class,"logout"]);
Now start the application using php artisan serve then you can access the URLs.


