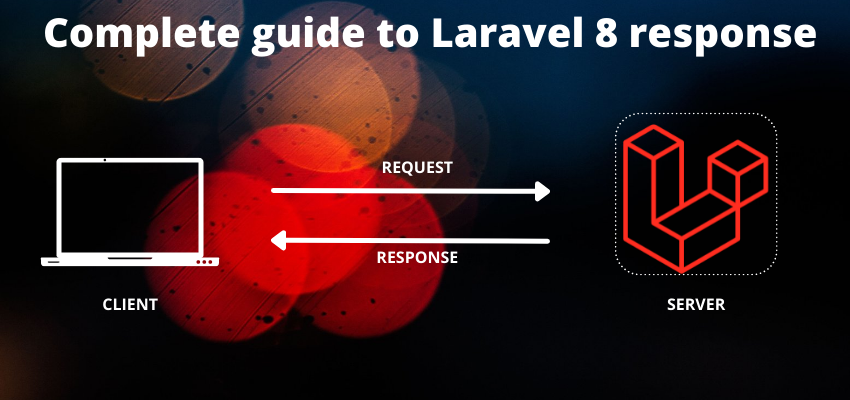
In this tutorial we will learn about the Laravel response. Laravel has its own library to handle the http response of the application to browser. In the most of the cases response() method is used to send the response back to browser and class Illuminate\Http\Response is also used for same purpose.
Mostly global response function is used to send response and it accepts 2 parameters, first is text and other one is status code of response.
Here are the table of content we are going to explain this article
- Simple Text Response in Laravel
- JSON Response in Laravel
- HTML Response in Laravel
- Redirect to URL in Laravel
- Redirect to Internal URL
- Redirect to External URL
- Redirect to Named Route
- Redirect to controller action
- Attaching flash data with redirect
- Redirect back to last request with inputs
- Setting header in Laravel response
- Setting cookies in Laravel response
- Download a file in Laravel
- Display a file in browser
Simple Text Response in laravel
Simple Text Response in Laravel
Text response is a just simple string without any html or specific design. In Laravel most basic response is text in a controller or route.
Route::get('/', function () {
    return 'Readerstacks.com';
});

// in controller

/**
* Display a listing of the resource.
*
* @return \Illuminate\Http\Response
*/
public function index()
{
    return 'Readerstacks.com';
}

// or

Route::get('/', function () {
    return response('Readerstacks.com',200);
});
JSON Response in Laravel
Whenever we use APIs in our application the most common response is JSON. We can send JSON response in two way in Laravel. First is returning a array or object and other one is response()->json($json).
Route::get('/', function () {
    return ["status"=>true,"message"=>"Success"];
});
HTML Response in Laravel
Html view is most used in web application. Laravel provides its own method to render or response the html to browser is view($path_to_blade). so we can use this method in our route and controller as below
Route::get('/', function () {
    return view("path_of_blade_file");
});
By default Laravel stores all view file in resource/views folder so if we want to render a html then we need to create a file in resource/views folder. for example creating a file in hello.blade.php
<h1> THis is readerstacks with heading </h1>Now we can use this as below
Route::get('/', function () {
    return view("hello");
});
Redirect to URL in Laravel
We can redirect to URL in multiple way. Redirection is useful when we want to validate and send back our response to user, send user to external URL, send user forcefully to internal curls etc. Laravel provides numerous way of redirection so they are as follow
Redirect to Internal URL
Global Method redirect($url) is used to redirecting to internal URL.
Route::post('/dashboard', function () {
    // if user is not authenticated then redirect
    return redirect('login');
});
Redirect to External URL
In our application sometimes we need to redirect to external URL in that case we can use away method and we can write redirect()->away($url).
Route::post('/google', function () {
    return redirect()->away('https://www.google.com');
});
Redirect to Named Route
route method of Illuminate\Routing\Redirector is used to redirect a page to named route. When we do not pass any parameter to redirect method then it returns a object of Illuminate\Routing\Redirector. So we can us it as below
Route::post('/dashboard', function () {
    return redirect()->route('login');
});
Named route with parameter
Route::post('/dashboard', function () {
    return redirect()->route('login',["type"=>"facebook"]);
});
Redirect to controller action
We can also call directly a controller action in our route or controller as below
use App\Http\Controllers\PostController;

Route::post('/google', function () {
   return redirect()->action([PostController::class, 'index']);
});
Attaching flash data with redirect
Sometimes we want to send some message after redirect so we can attach a single request session with redirect using with method
use App\Http\Controllers\PostController;

Route::post('/google', function () {
   return redirect()->action([PostController::class, 'index'])->with("message","Success");
});
Redirect back to last request with inputs
While we validating a form we need to send back to user to the form to show validation errors. so Laravel provides an easy way to send back to form using back() method
Route::post('/dashboard', function () {
    return back()->withInput();
});
Setting header in Laravel response
We can set header header method of Illuminate\Http\Response.
Route::post('/dashboard', function () {
    return response("test")
      ->header("auth","token")
      ->header("auth2","token2");
});
Setting cookies in Laravel response
We can set header cookie method of Illuminate\Http\Response.
Route::post('/dashboard', function () {
    return response("test")
      ->cookie("auth","token")
      ->cookie("auth2","token2");
});
Download a file in Laravel
Downloading a file directly from path can be harmful for application so it’s better to download after verifying the request. therefore we can use download method of response object
Route::post('/download-secure-file', function () {
   // validate token etc.
    return response()
      -> download($pathToFile, $name, $headers);

});
Display a file or Image in browser
Display a file directly from path can be harmful for application so it’s better to display after verifying the request so we can use file method of response object.
Route::post('/download-secure-file', function () {
   // validate token etc.
    return response()
      -> file($pathToFile, $headers);

});
Extending Laravel response
Sometimes you need to extend the response according to your application need so Laravel provides Macros to register your custom method of response .
To register a custom response method we need to register it in App\Providers\AppServiceProvider
<?php

namespace App\Providers;

use Illuminate\Support\Facades\Response;
use Illuminate\Support\ServiceProvider;

class AppServiceProvider extends ServiceProvider
{
    /**
     * Bootstrap any application services.
     *
     * @return void
     */
    public function boot()
    {
        Response::macro('lower', function ($value) {
            return Response::make(strtolower($value));
        });
    }
}
Macro accepts 2 arguments first is name of method and second is closure function which is executed when called from route or controller as below
Route::post('/custom-response-method', function () {

    return response()
      -> lower("THIS IS TEXT");
});


