In this tutorial i will explain to use validating a array inputs using Laravel validation library. Laravel also supports to validate group of array and we can validate a array same as normal input. In our recent article Laravel form validation how to validate a form and files.
In this post i will show you to validate a array in form or in a http request. To implement the Laravel array validation we will use a form with array and then we will validate in Laravel controller.
To validate a array in Laravel we can use
<h3>Laravel array form validation  - Readerstacks</h3>
            @if ($errors->any())
                <div class="alert alert-danger">
                    <ul>
                        @foreach ($errors->all() as $error)
                            <li>{{ $error }}</li>
                        @endforeach
                    </ul>
                </div>
            @endif
            <form method="post"   action="{{url('articles/save')}}" name="postform">
              <div class="form-group">
                <label>Email</label>
                <input type="email" name="email"  value="" class="form-control" />
                 @csrf
              </div>

              <div class="form-group">
                <label>Names 1</label>
                <input type="text" name="names[]"  value="{{old('names[0]')}}" class="form-control" />
                @error('names.0')
                    <div class="alert alert-danger">{{ $message }}</div>
                @enderror

              </div>
              <div class="form-group">
                <label>Names 2</label>
                <input type="text" name="names[]"  value="{{old('names[1]')}}" class="form-control" />
                @error('names.1')
                    <div class="alert alert-danger">{{ $message }}</div>
                @enderror
              </div>

              <div class="form-group">
                <button type="submit" class="btn btn-primary">Submit</button>
              </div>
            </form>
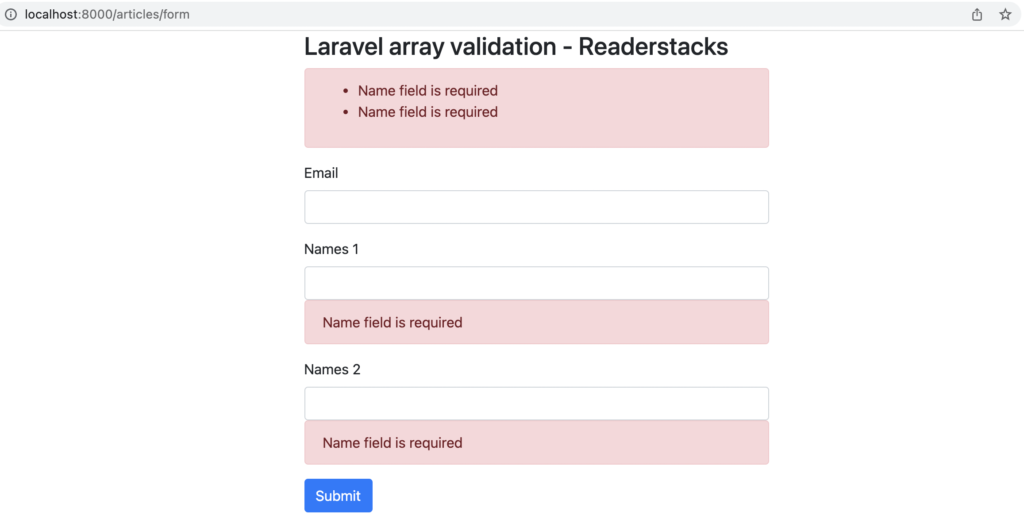
Here we are showing the error message below the input and also above the form just for example and in controller
 $validator = Validator::make($request->all(), [
            'names.*' => ['required']   // required and email format validation
        ],[
            // "names.*.required"=>"Name field is required "
        ]); // create the validations
here * is used for array and we can also customize the error message as you can see .
Example 2 for multidimentional array validation laravel
Sometimes we wanted to validate multidimentional array validation laravel so here is the example of multidimentional array
[0] => Array
    (
        [item_id] => 1
        [title] => "aaa"
        [size] => "L"
    )
[1] => Array
    (
        [item_id] => 2
        [title] => "BBB"
        [size] => "XL"
    )
So to validate this we need below syntax
$this->validate($request, [
    '*.item_id' => 'required|integer',
    '*.title' => 'required',
    '*.size'    => 'required|max:191',
]);
Let’s understand the Laravel array validation with example
Step 1 : Create a controller
Create the controller and add the necessary imports and class. You can create by Laravel artisan or manually.
php artisan make:controller ArticleController<?php
namespace App\Http\Controllers;
use Illuminate\Http\Request;
use App\Models\Article;
use Illuminate\Support\Facades\Validator;
class ArticleController extends Controller
{
public function form(Request $request, $id = 0)
{
return view("articles.form");
}
public function store(Request $request)
{
$validator = Validator::make($request->all(), [
'names.*' => ['required'] // required and email format validation
], [
// "names.*.required"=>"Name field is required "
]); // create the validations
if ($validator->fails()) //check all validations are fine, if not then redirect and show error messages
{
return back()->withInput()->withErrors($validator);
// validation failed redirect back to form
} else {
//handle the form
}
}
}
Here, we have created two methods one for show the form and another one for validating the form. As you can see we. have used * to validate the array.
Step 2: Create blade file for view
Now it’s time to show the form and validation message to our view, so let’s create the view file.
<h3>Laravel array validation - Readerstacks</h3>
            @if ($errors->any())
                <div class="alert alert-danger">
                    <ul>
                        @foreach ($errors->all() as $error)
                            <li>{{ $error }}</li>
                        @endforeach
                    </ul>
                </div>
            @endif
            <form method="post" id="handleAjax" action="{{url('articles/save')}}" name="postform">
              <div class="form-group">
                <label>Email</label>
                <input type="email" name="email"  value="" class="form-control" />

                 @csrf
              </div>

              <div class="form-group">
                <label>Names 1</label>
                <input type="text" name="names[]"  value="{{old('names.0')}}" class="form-control" />
                @error('names.0')
                    <div class="alert alert-danger">{{ $message }}</div>
                @enderror

              </div>
              <div class="form-group">
                <label>Names 2</label>
                <input type="text" name="names[]"  value="{{old('names.1')}}" class="form-control" />
                @error('names.1')
                    <div class="alert alert-danger">{{ $message }}</div>
                @enderror

              </div>

              <div class="form-group">
                <button type="submit" class="btn btn-primary">Submit</button>
              </div>
            </form>
In above code we have created name fields which can be multiple and also showing the error message above the form and also below the input just for example.
Step 3: Create routes
Now, open the routes/web.php and add below routes
<?php

use App\Http\Controllers\ArticleController;
use Illuminate\Support\Facades\Route;

Route::get('/articles',[ArticleController::class, 'index']);
Route::post('/articles/save',[ArticleController::class, 'store']);
Now run php artisan serve command and check the implementation in browser.
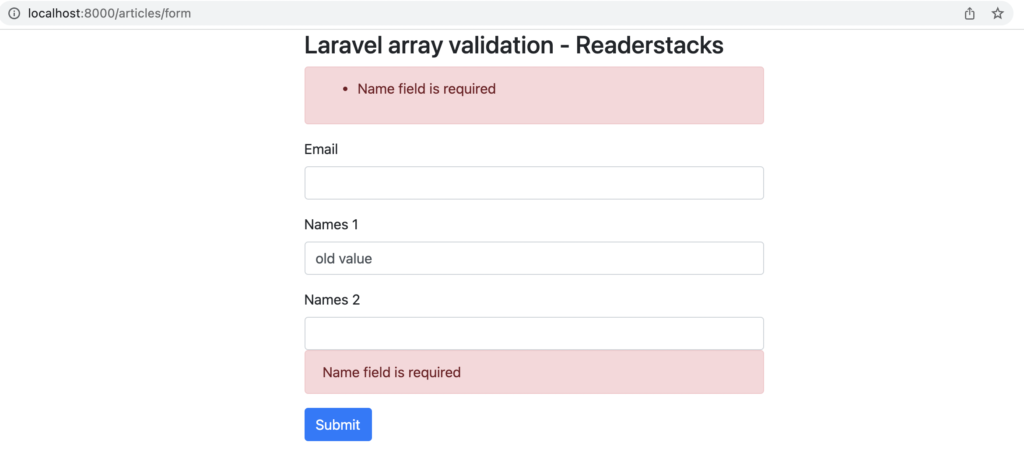
Here is the screenshot


Customizing error message of validation
TO customize the validation message we need to pass second parameter to Validator::make() method as below
 $validator = Validator::make($request->all(), [
            'names.*' => ['required']   // required and email format validation

        ], [
            "names.*.required"=>"Name field is required "
        ]);
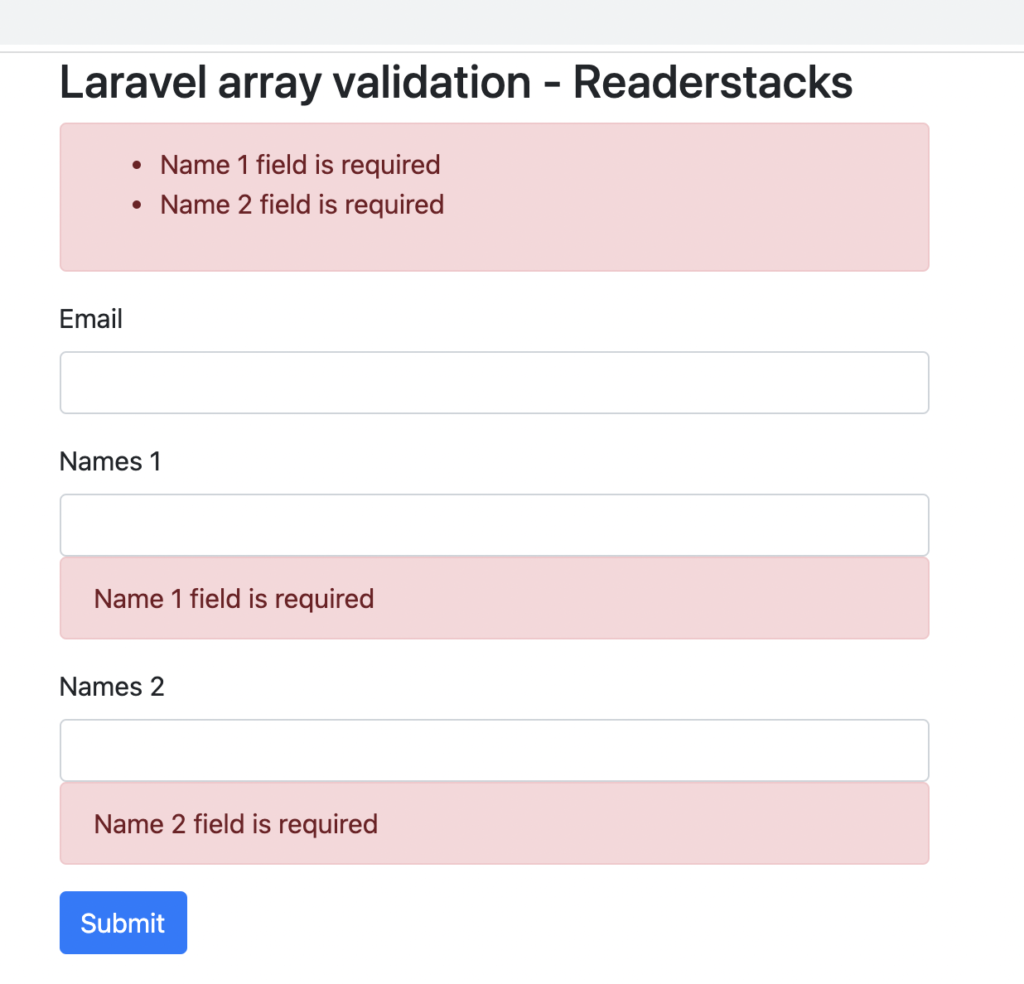
We can also change message for each array field as below
  $validator = Validator::make($request->all(), [
            'names.*' => ['required']   // required and email format validation

        ], [
            "names.0.required"=>"Name 1 field is required ",
            "names.1.required"=>"Name 2 field is required "
        ]);


