In this tutorial we will learn to show assets image in flutter. In flutter there is two types of images we can show one is asset image and other one is network image.
To use the images in flutter we have Image class which supports both local and remote images. For asset images we need to define it in pubspec.yaml first. Asset images are images which is stored locally in app directory and Network images are images which is stored in server. We can access Asset images using AssetImage class or Image.asset class.
Display asset image in flutter
Asset image can be displayed easily in flutter application using Image.assset or AssetImage class which accepts first parameter as URL of image and other parameters for configuration of image.
Let’s understand with an example
Step 1 : Create flutter project
Very first step is to create the fluter application using command line tool or in Android studio.
flutter create example_appThis will create a new project with name my_app then go in to the folder .
Step 2 : Configure image directory in pubspec.yaml
Next step is create the assets directory and configure it in pubspec.yaml file in flutter assets block as below
flutter:
  assets:
    - directory/
    - directory/subdirectory/
    - directory/subdirectory/image.png
    - directory/variations/image.png
you can either directory location to allow all directory images or also specific files.
Example :
name: example_app
description: A new Flutter project.

# The following line prevents the package from being accidentally published to
# pub.dev using `flutter pub publish`. This is preferred for private packages.
publish_to: 'none' # Remove this line if you wish to publish to pub.dev

# The following defines the version and build number for your application.
# A version number is three numbers separated by dots, like 1.2.43
# followed by an optional build number separated by a +.
# Both the version and the builder number may be overridden in flutter
# build by specifying --build-name and --build-number, respectively.
# In Android, build-name is used as versionName while build-number used as versionCode.
# Read more about Android versioning at https://developer.android.com/studio/publish/versioning
# In iOS, build-name is used as CFBundleShortVersionString while build-number used as CFBundleVersion.
# Read more about iOS versioning at
# https://developer.apple.com/library/archive/documentation/General/Reference/InfoPlistKeyReference/Articles/CoreFoundationKeys.html
version: 1.0.0+1

environment:
  sdk: ">=2.15.1 <3.0.0"

# Dependencies specify other packages that your package needs in order to work.
# To automatically upgrade your package dependencies to the latest versions
# consider running `flutter pub upgrade --major-versions`. Alternatively,
# dependencies can be manually updated by changing the version numbers below to
# the latest version available on pub.dev. To see which dependencies have newer
# versions available, run `flutter pub outdated`.
dependencies:
  flutter:
    sdk: flutter


  # The following adds the Cupertino Icons font to your application.
  # Use with the CupertinoIcons class for iOS style icons.
  cupertino_icons: ^1.0.2

dev_dependencies:
  flutter_test:
    sdk: flutter

  # The "flutter_lints" package below contains a set of recommended lints to
  # encourage good coding practices. The lint set provided by the package is
  # activated in the `analysis_options.yaml` file located at the root of your
  # package. See that file for information about deactivating specific lint
  # rules and activating additional ones.
  flutter_lints: ^1.0.0

# For information on the generic Dart part of this file, see the
# following page: https://dart.dev/tools/pub/pubspec

# The following section is specific to Flutter.
flutter:

  # The following line ensures that the Material Icons font is
  # included with your application, so that you can use the icons in
  # the material Icons class.
  uses-material-design: true

  # To add assets to your application, add an assets section, like this:
  assets:
    - assets/images/

  # An image asset can refer to one or more resolution-specific "variants", see
  # https://flutter.dev/assets-and-images/#resolution-aware.

  # For details regarding adding assets from package dependencies, see
  # https://flutter.dev/assets-and-images/#from-packages

  # To add custom fonts to your application, add a fonts section here,
  # in this "flutter" section. Each entry in this list should have a
  # "family" key with the font family name, and a "fonts" key with a
  # list giving the asset and other descriptors for the font. For
  # example:
  # fonts:
  #   - family: Schyler
  #     fonts:
  #       - asset: fonts/Schyler-Regular.ttf
  #       - asset: fonts/Schyler-Italic.ttf
  #         style: italic
  #   - family: Trajan Pro
  #     fonts:
  #       - asset: fonts/TrajanPro.ttf
  #       - asset: fonts/TrajanPro_Bold.ttf
  #         weight: 700
  #
  # For details regarding fonts from package dependencies,
  # see https://flutter.dev/custom-fonts/#from-packages

And update the pub using command
flutter --no-color pub getStep 3 : Create a simple widget
Now, Create a simple stateless widget to show the image and it will consist a container and center widget to center the image as below
File : lib/assetimagedemo.dart
import 'package:flutter/material.dart';

class AssetImageDemo extends StatelessWidget {
  const AssetImageDemo({Key? key}) : super(key: key);

  @override
  Widget build(BuildContext context) {
    // TODO: implement build
    return  Container(
            color: Colors.white,
            child:Center(
                child:Image.asset('assets/images/flutter.png')
            )
          );
  }
}
Step 4: Import and use the widget in main
We just created a new widget with name remoteimagedemo, now we are going to use it in our main.dart file as below
import 'package:example_app/assetimagedemo.dart';
import 'package:flutter/material.dart';

void main() {
  runApp(const MyApp());
}

class MyApp extends StatelessWidget {
  const MyApp({Key? key}) : super(key: key);

  // This widget is the root of your application.
  @override
  Widget build(BuildContext context) {
    return MaterialApp(

      title: 'Flutter Demo',
      theme: ThemeData(

        primarySwatch: Colors.blue,
      ),
      home: const  AssetImageDemo(),
    );
  }
}
Step 5: Run the project
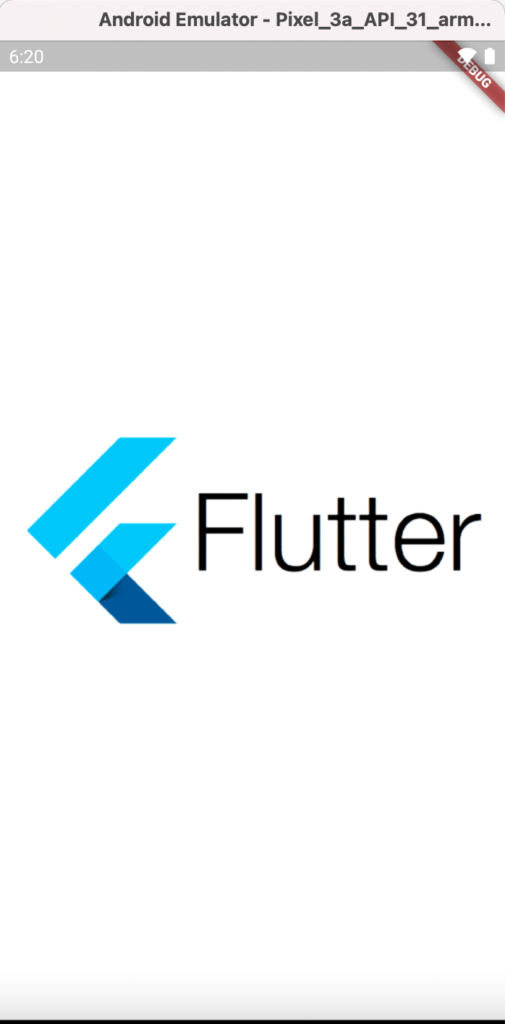
Simply run the project using command line or in android studio to check the implementation.
flutter run lib/main.dartScreenshot :


