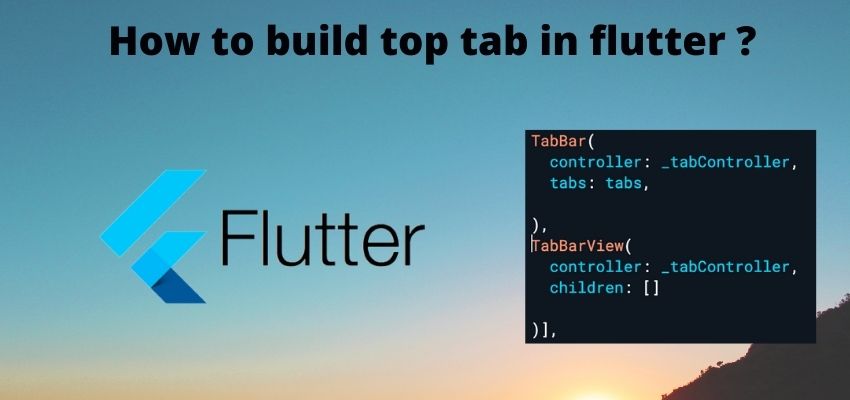
In this tutorial i will show you to create top tab in flutter. Top tab bar is useful when we wanted to switch on different content easily by sliding the tabs like whatsapp in android.
I will show you in this article to change the color of tab , icon, tabbar without appbar, and customize the icon of the tab. We will use sample content in each tab.
There is two ways to create top tab bat in flutter first is by DefaultTabController to create simple tabs without much customizations and other one is using TabController.
In this tutorial we will use TabBarView and TabBar with TabController and will customize the tabs.
Let’s begin the tutorial of create top tab bar in flutter by step by step
Step 1 : Create flutter project
Very first step is to create the fluter application using command line tool or in Android studio.
flutter create example_appThis will create a new project with name example_app then go in to the folder.
Step 2 : Create a widgets for Top Tab
Now, Create a widget to create the multiple tabs and show the content in it. Here we will use BottomNavigationBar and Scaffold to use the material design.
File : lib/TopTabBarWidget.dart
import 'package:flutter/material.dart';

class TopTabBarWidget extends StatefulWidget {

  const TopTabBarWidget({Key? key}) : super(key: key);

  @override
  State<TopTabBarWidget> createState() => _TopTabBarWidget();

}
class _TopTabBarWidget extends State<TopTabBarWidget> with SingleTickerProviderStateMixin {
  late TabController _tabController;

  List<Tab> tabs = <Tab>[
    const Tab(text: 'Car',icon: Icon(Icons.car_rental)),
    const Tab(text: 'Book',icon: Icon(Icons.book)),
    const Tab(text: 'Computer',icon: Icon(Icons.laptop)),
  ];

  @override
  void initState() {
    super.initState();
    _tabController = TabController(vsync: this, length: tabs.length);
  }

  // This widget is the root of your application.
  @override
  Widget build(BuildContext context) {
    return MaterialApp(
      title: 'Flutter Demo',
      theme: ThemeData(
        primarySwatch: Colors.blue,
      ),
      home: Scaffold(
        appBar: AppBar(
          title: const Text('Readerstacks Top Tab'),
        ),

        body:Column(

          children: [ TabBar(
            // labelStyle: const TextStyle(fontWeight: FontWeight.bold),
            // automaticIndicatorColorAdjustment: true,
            indicatorColor: Colors.red,
            labelColor: Colors.red,
            controller: _tabController,
            tabs: tabs,
            ),
          Expanded(child:TabBarView(

              controller: _tabController,
              children: tabs.map((Tab tab) {
                return Center(
                  child: Text(
                    '${tab.text!} Tab',
                    style: Theme.of(context).textTheme.headline5,
                  ),
                );
              }).toList(),
            ))],
        )
      )
    );

  }
}
Here as you can see we have used TabBar to build the Top tab bar view and also user TabBarView to show the content in top tab with 3 menu items. We also used TabController to controller and linked the both TabBarView and TabBar widget using TabController.
we used scaffold body to show the main content using TabBarView and Expended to fit in screen height.
 Expanded(child:TabBarView(

              controller: _tabController,
              children: tabs.map((Tab tab) {
                return Center(
                  child: Text(
                    '${tab.text!} Tab',
                    style: Theme.of(context).textTheme.headline5,
                  ),
                );
              }).toList(),
            ))
and tab bar using TabBar
      TabBar(
            // labelStyle: const TextStyle(fontWeight: FontWeight.bold),
            // automaticIndicatorColorAdjustment: true,
            indicatorColor: Colors.red,
            labelColor: Colors.red,
            controller: _tabController,
            tabs: tabs,
            )
Step 3 : Add Page to main file
Add you new pages to main.dart and start tabbing.
import 'package:flutter/material.dart';
import 'package:example_app/TopTabBarWidget.dart';

void main() => runApp(TopTabBarWidget());
Step 4: Run the project
Simply run the project using command line or in android studio to check the implementation.
flutter run lib/main.dartLive Preview:


