Google reCAPTCHA used widely in may websites, in laravel its easy to use with third party package. Captcha is used to enhance the security of form. By adding the Captcha in laravel form we can prevent attackers to submit the form using the automated scripts and it adds an extra layer of security. To add the captcha in laravel form we can use package buzz/laravel-google-captcha, its easy to use and also provide validation rule to validate the captcha.
This package also provide the reset and refresh features and the security level of captcha therefore we can configure all these things in config file of it.
So let’s install or add captcha in laravel form with example

Step 1 : Install the package
I assume the you have already installed the laravel and basic connection of it like database connection and composer.
Now install the package using composer in laravel root directory, open the terminal in laravel root directory and run below command
composer require buzz/laravel-google-captchaAnd then run composer update
composer updateStep 2 : Add Service provider and alias
Most of the packages comes with laravel package discovery enabled and automatic add service provider to packages built after laravel 5.5 so if your laravel version is greater then 5.5 then you can skip this step.
Search for providers key and Add service provider in config\app.php
'providers' => [
        // ...
        "Buzz\LaravelGoogleCaptcha\CaptchaServiceProvider"
 ]
Also find alias key and add as below
aliases' => [
        // ...
        'Captcha' =>"Buzz\LaravelGoogleCaptcha\CaptchaServiceProvider",
    ]
Step 3 : Publish config to add configuration
Now, publish the config of package so we can change the config according to need. Run the below command in project directory
php artisan vendor:publish --provider="Buzz\LaravelGoogleCaptcha\CaptchaServiceProvider"this will create an file inconfig/captcha.php
<?php
/*
 * Secret key and Site key get on https://www.google.com/recaptcha
 * */
return [
    'secret' => env('CAPTCHA_SECRET', 'default_secret'),
    'sitekey' => env('CAPTCHA_SITEKEY', 'default_sitekey'),
    /**
     * @var string|null Default ``null``.
     * Custom with function name (example customRequestCaptcha) or class@method (example \App\CustomRequestCaptcha@custom).
     * Function must be return instance, read more in repo ``https://github.com/thinhbuzz/laravel-google-captcha-examples``
     */
    'request_method' => null,
    'options' => [
        'multiple' => false,
        'lang' => app()->getLocale(),
    ],
    'attributes' => [
        'theme' => 'light'
    ],
];
Step 4 : Create sitekey and secret in Google account
This is most important part of this articles since we can’t use Google reCaptcha without the sitekey and secret so we need to configure them on Google console account
First go to https://www.google.com/recaptcha/admin/create
then you will see form like this

Label :
Now in the label type the site name or any name by which you can recognize easily.
reCAPTCHA type :
Select reCAPTCHA v2 in the field.
Domain :
If you are developing on local then you can use localhost as domain and if you are working and deploying it to live then don’t forget to add fully qualified domain name.

Secret keys and sitekey :
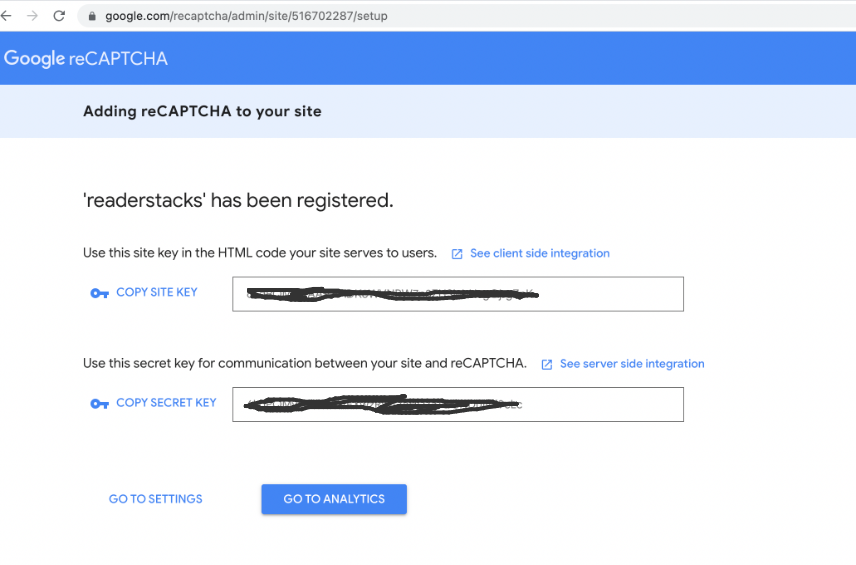
Now click on save button and it will provide you secret keys and sitekey as below

Now open .env file
.....
CAPTCHA_SITEKEY=sjdsjdljsdlsdksjdns32389bshjdb327
CAPTCHA_SECRET=73y2bsdjbsjdbjhsbdhjsd
And put your keys here.
Step 4 : Create routes
Add appropriate routes to connect our URL to controller therefore open routes/web.php and add below routes
<?php
use Illuminate\Support\Facades\Route;
use \App\Http\Controllers\PostController;


Route::get('/create-post',[PostController::class, 'create']);
Route::post('/submit-post',[PostController::class, 'store']);
Here we created three routes one create-post to show the form, submit-post to submit the form.
Step 4 : Create Controller
Now, create the controller as we have mentioned in routes is PostController and also create three methods create, store and refreshCaptcha so create a file in app\Http\Controllers\PostController.php
<?php

namespace App\Http\Controllers;

use Illuminate\Http\Request;
use Illuminate\Support\Facades\Validator;


class PostController extends Controller
{

    public function create()
    {
        return view('post.create-post');
    }

    public function store(Request $request)
    {
        $validator = Validator::make(
            $request->all(),
            [
                'email' => 'required|email',   // required and email format validation
                'password' => 'required',
                'password_confirmation' => 'required|same:password',
                'g-recaptcha-response' => 'required|captcha'

            ]
        ); // create the validations

        if ($validator->fails())   //check all validations are fine, if not then redirect and show error messages
        {
            return back()->withInput()->withErrors($validator);
        } else {
            return response()->json(["status" => true, "message" => "Form submitted successfully"]);
        }
    }
    public function refreshCaptcha()
    {
        return response()->json(['captcha' => captcha_img()]);
    }
}
as you can see we have added the validation for captcha here
  $validator = Validator::make($request->all(), [
            ....
            'g-recaptcha-response' => 'required|captcha'

        ]); // create the validations
and to refresh the captcha we used refreshCaptcha method.
Step 5 : Create view
We have create the controller and logic for validate the captcha now its time to show the captcha in form and submit to store method hence here is our view
<!DOCTYPE html>
<html lang="{{ str_replace('_', '-', app()->getLocale()) }}">

<head>
  <meta charset="utf-8">
  <meta name="viewport" content="width=device-width, initial-scale=1">

  <title>Readerstacks Google captcha in laravel 9/8/7/6/5</title>

  <link href="//netdna.bootstrapcdn.com/bootstrap/4.1.1/css/bootstrap.min.css" rel="stylesheet" />
  <link href="https://maxcdn.bootstrapcdn.com/font-awesome/4.7.0/css/font-awesome.min.css" rel="stylesheet" integrity="sha384-wvfXpqpZZVQGK6TAh5PVlGOfQNHSoD2xbE+QkPxCAFlNEevoEH3Sl0sibVcOQVnN" crossorigin="anonymous">
  <script src="https://ajax.googleapis.com/ajax/libs/jquery/2.1.3/jquery.min.js"></script>
</head>

<body class="antialiased">
  <div class="container">
    <!-- main app container -->
    <div class="readersack">
      <div class="container">
        <div class="row">
          <div class="col-md-6 offset-md-3">
            <h3>  Google captcha in laravel 9/8/7/6/5 - Readerstacks</h3>

            <form method="post" id="validateajax" action="{{url('submit-post')}}" name="registerform">
              <div class="form-group">
                <label>Email</label>
                <input type="text" name="email" value="{{ old('email') }}" class="@error('email') is-invalid @enderror form-control" />

                @error('email')
                <div class="alert alert-danger">{{ $message }}</div>
                @enderror
                @csrf
              </div>

              <div class="form-group">
                <label>Password</label>
                <input type="password" name="password" class="@error('password') is-invalid @enderror form-control" />
                @error('password')
                <div class="alert alert-danger">{{ $message }}</div>
                @enderror
              </div>
              <div class="form-group">
                <label>Confirm Password</label>
                <input type="password" name="password_confirmation" class="@error('password_confirmation') is-invalid @enderror form-control" />

                @error('password_confirmation')
                <div class="alert alert-danger">{{ $message }}</div>
                @enderror
              </div>
              <div class="form-group">
                <label for="capatcha">Captcha</label>
                <div class="captcha">
                  <span>{!! app('captcha')->display() !!}</span>
                  <!-- <button type="button" class="btn btn-success refresh-cpatcha"><i class="fa fa-refresh"></i></button> -->
                </div>

                @error('g-recaptcha-response')
                <div class="alert alert-danger">{{ $message }}</div>
                @enderror
              </div>


              <div class="form-group">
                <button class="btn btn-primary">Register</button>
              </div>
            </form>
          </div>
        </div>
      </div>
    </div>
    <!-- credits -->
    <div class="text-center">
      <p>
        <a href="#" target="_top"> Google captcha in laravel 9/8/7/6/5 - Readerstacks</a>
      </p>
      <p>
        <a href="https://readerstacks.com" target="_top">readerstacks.com</a>
      </p>
    </div>
  </div>
</body>
</html>
Here, we used {!! app(‘captcha’)->display() !!} to show the captcha and @error('g-recaptcha-response') to show the validations
 <div class="form-group">
                <label for="capatcha">Captcha</label>
                <div class="captcha">
                  <span>{!! app('captcha')->display() !!}</span>
                  <!-- <button type="button" class="btn btn-success refresh-cpatcha"><i class="fa fa-refresh"></i></button> -->
                </div>

                @error('g-recaptcha-response')
                <div class="alert alert-danger">{{ $message }}</div>
                @enderror
              </div>
With custom language support:
{!! app('captcha')->display($attributes = [], $options = ['lang'=> 'vi']) !!}With
// element attributes
$attributes = [
    'data-theme' => 'dark',
    'data-type' => 'audio',
];
Now serve the project using
php artisan serveand check the implementation.
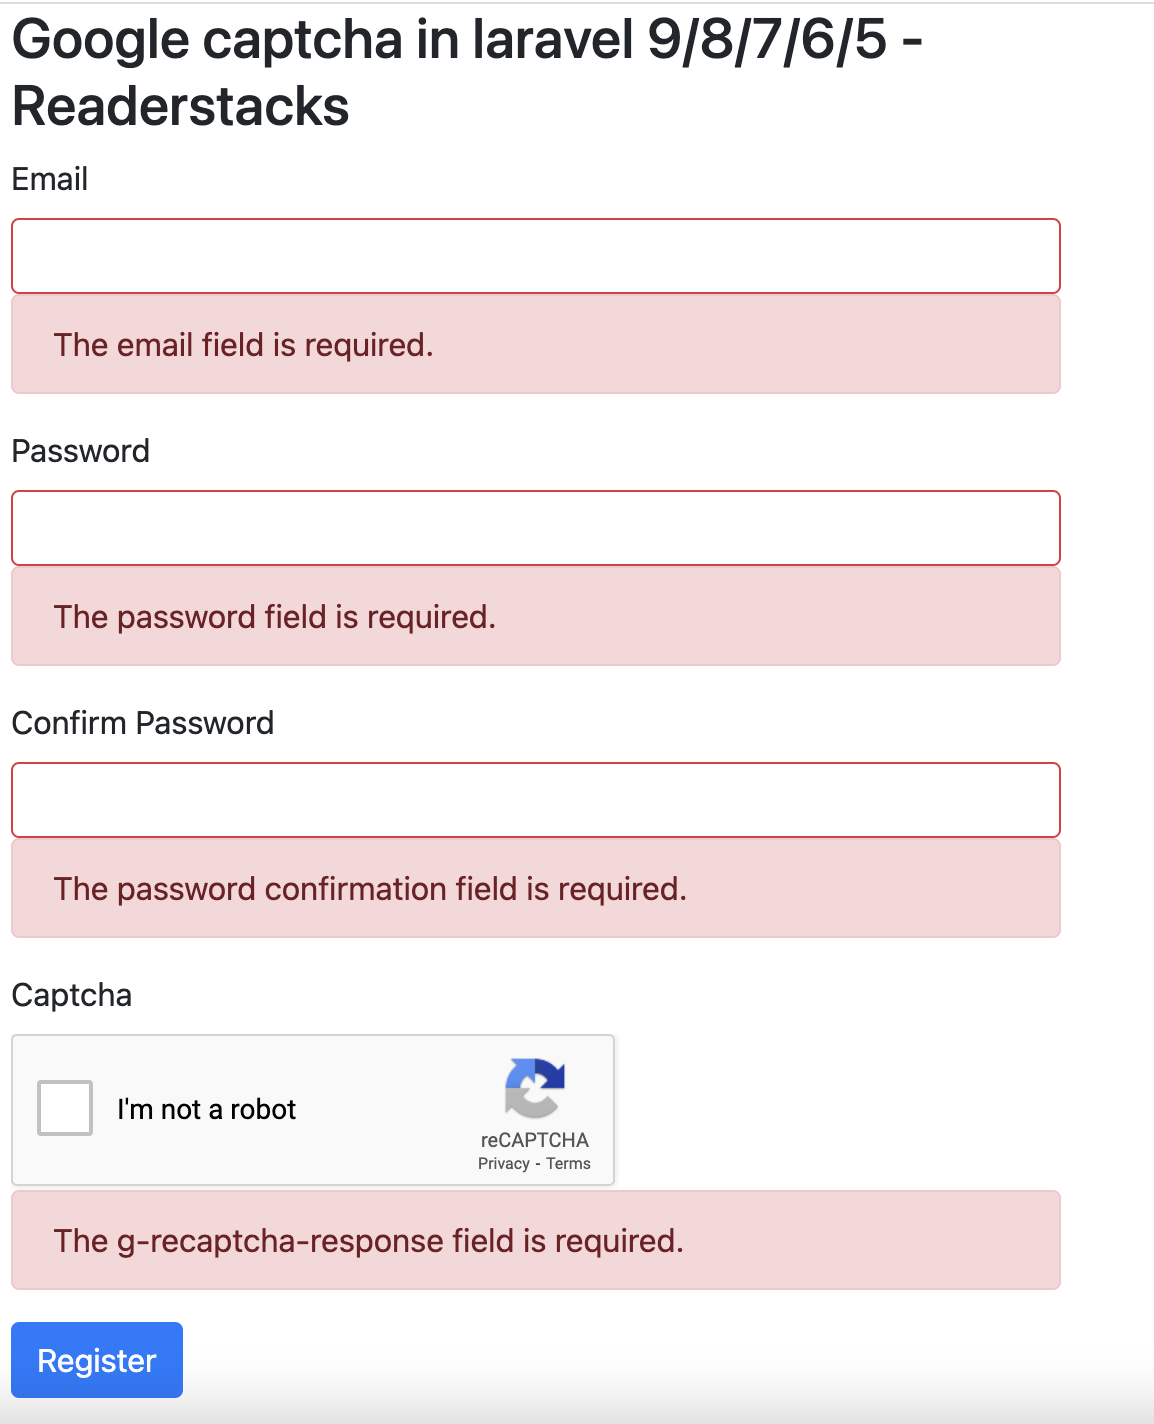
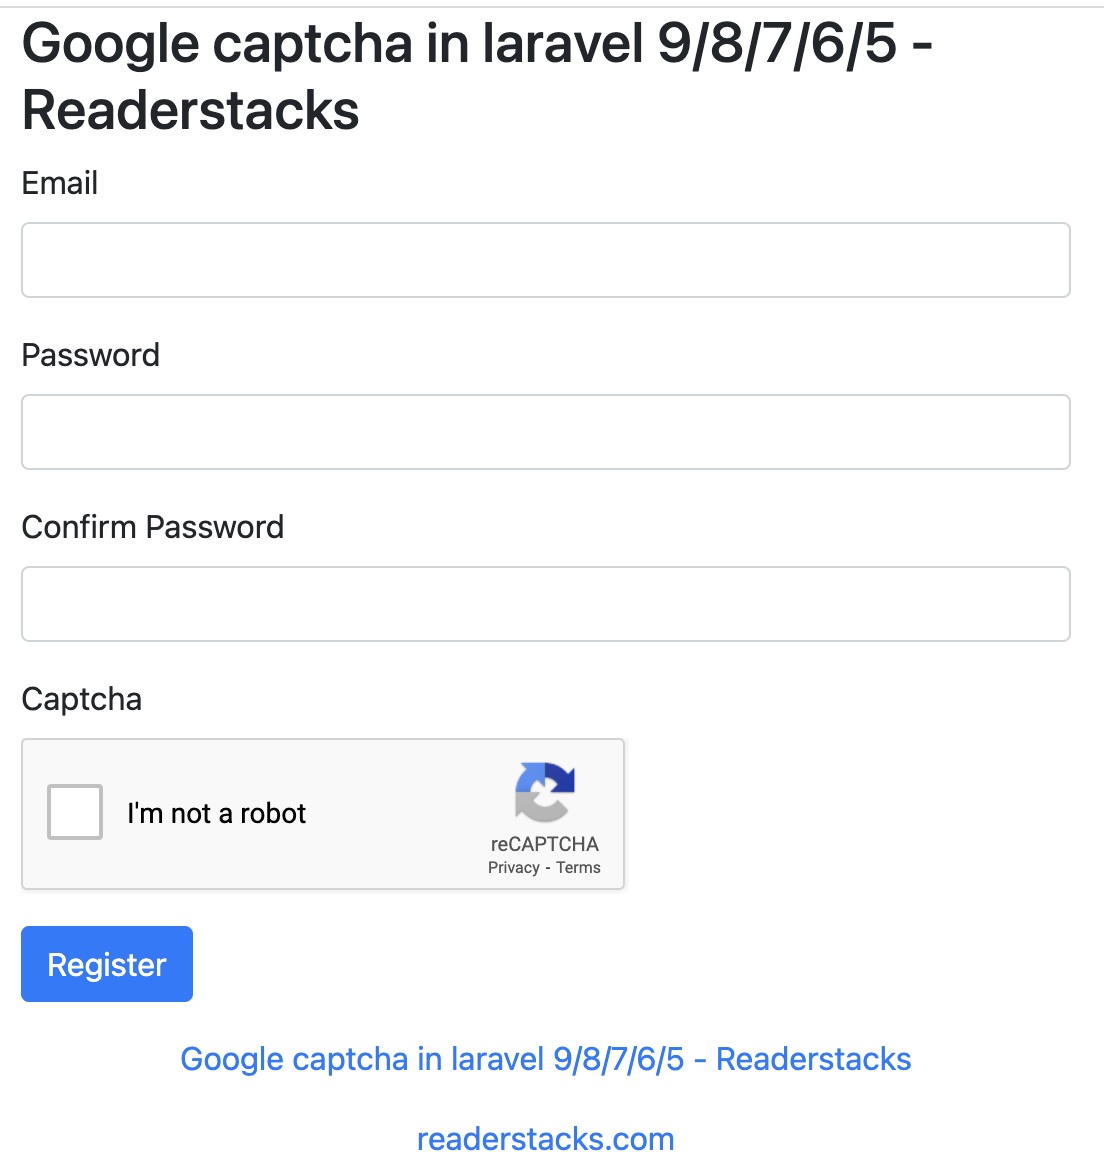
Screenshot :


How to Bypass Google reCAPTCHA for testing Purpose ?
You can bypass the google reCAPTCHA for testing by passing the test keys in env as below
- Site key: 6LeIxAcTAAAAAJcZVRqyHh71UMIEGNQ_MXjiZKhI
- Secret key: 6LeIxAcTAAAAAGG-vFI1TnRWxMZNFuojJ4WifJWe
These are the testing keys. and it will show as below

Also Read : How to Add Captcha, validate and refresh captcha in Laravel Form ?


