In this article i will show you to use FormControl in child component. By default child component can not access the FormGroup and we can not use FormControl or FormControlName in parent child component approach.
You can also read How to make reusable components in angular? for how child and parent component works.
I will show you this with an example of simple for with parent and child component.
We will understand this by two examples
- Share form control group to another component
- Access form group using ControlContainer, ControlValueAccessor and AbstractControl(Fullt customizable input)
How to pass form control to child component in angular 12 ?
Step 1: Create a new project
Create a project reusable-component using ng new command.
ng new reusable-componentStep 2: Create Child Component
Create a child component so we can use it in our parent component and as you can see in below code we have added @Input decorator form by which we can accept the form group object from parent component.
ng g c price-inputimport { Component, OnInit, Input } from '@angular/core';
import { FormControl, FormGroup } from '@angular/forms';
@Component({
selector: 'app-price-input',
templateUrl: './price-input.component.html',
styleUrls: ['./price-input.component.css']
})
export class PriceInputComponent implements OnInit {
@Input()
form:FormGroup;
constructor() { }
ngOnInit() {
}
}
and html
<div class="form-input">
    <label>Price</label>
    <input [formControl]="form.get('price')" />
    <span>{{form.get('price').touched &&!form.get('price').valid?"This field is required":""}}</span>
</div>
<div class="form-input">
    <label>Sell Pirce</label>
    <input [formControl]="form.get('sell_price')" />
    <span>{{form.get('sell_price').touched && !form.get('sell_price').valid?"This field is required":""}}</span>
</div>
Generally we user formControlName but here we are using [formControl] input to work with parent form group and form.get() to pass the input reference.
Step 3: Create Parent Component
Now, create a component to handle the form and submission of it. it will create 4 files one ts file, 1 view file , css file and test file.
ng g component product-formAnd ProductFormComponent is below, here we will create a form group with 5 inputs
import { Component, OnInit } from '@angular/core';
import { FormGroup, FormControl, Validators } from '@angular/forms';

@Component({
  selector: 'app-product-form',
  templateUrl: './product-form.component.html',
  styleUrls: ['./product-form.component.css']
})
export class ProductFormComponent implements OnInit {
  form : FormGroup = new FormGroup(
    {
      title:new FormControl("",[Validators.required]),
      email:new FormControl("",[Validators.required]),
      price:new FormControl("",[Validators.required]),
      sell_price:new FormControl("",[Validators.required]),
      author:new FormControl("",[Validators.required]),
      date:new FormControl("",[Validators.required]),
    }
  );
  constructor() { }

  ngOnInit() {
  }

  onSubmit(){
    console.log(this.form.value)
  }

}
and html file for component , here we have used <app-price-input [form]='form' ></app-price-input> as a child component and also passed form group object as a input to this child component
<h2>Product Form</h2>
<form [formGroup]="form" (submit)="onSubmit()">
    <div class="form-input">
        <label>Title</label>
        <input formControlName="title" />

        <span>{{form.controls.title.touched &&  !form.controls.title.valid?"This field is required":""}}</span>
    </div>

    <div class="form-input">
        <label>Email</label>
        <input formControlName="email" />
        <span>{{form.controls.email.touched && !form.controls.email.valid?"This field is required":""}}</span>
    </div>

    <app-price-input  [form]='form' ></app-price-input>

   <div class="form-input">
        <label>Author</label>
        <input formControlName="author" />
        <span>{{form.controls.author.touched && !form.controls.author.valid?"This field is required":""}}</span>
    </div>
<div class="form-input">
        <label>Date</label>
        <input type='date' formControlName="date" />
        <span>{{form.controls.date.touched && !form.controls.date.valid?"This field is required":""}}</span>
    </div>


    <div class="form-input">
       <input type="submit" value="Submit" name='submit' />
    </div>

</form>
Now, we can create a separate route or we can call it in app.component.html directly to render it as below
<app-product-form></app-product-form>In this example we will implement a fully customizable input component and will be able to handle all event of form control in component. Only difference in above method and this method is step 2.
Step 1: Create a new project
Create a project reusable-component using ng new command.
ng new reusable-componentStep 2: Create Reusable Child Component
Now, here we are going to create a component with ControlContainer, FormControl, ControlValueAccessor and AbstractControl which handle all events of form control separately.
Before start let me brief you about ControlContainer, FormControl, ControlValueAccessor and AbstractControl
- ControlContainer : Base class of NgControl and find the parent form.
- FormControl : Keep track of value of form input and validations.
- ControlValueAccessor : An interface between Angular form apis and native dom element.
- AbstractControl : Base class for
FormControl,FormGroup, andFormArray.
Now, create a component using angular cli.
ng g component custom-inputimport { Component, OnInit, Input, ViewEncapsulation, forwardRef } from '@angular/core';
import { ControlContainer, FormControl, ControlValueAccessor, AbstractControl, NG_VALUE_ACCESSOR } from '@angular/forms';
@Component({
selector: 'app-custom-input',
templateUrl: './custom-input.component.html',
styleUrls: ['./custom-input.component.css'] ,
providers: [
{
provide: NG_VALUE_ACCESSOR,
useExisting: forwardRef(() => CustomInputComponent),
multi: true
}
],
})
export class CustomInputComponent implements ControlValueAccessor,OnInit {
@Input()
formControlName:string;
control:AbstractControl;
@Input()
placeholder:string = '';
@Input()
type:string = 'text';
constructor( private controlContainer: ControlContainer) { }
ngOnInit() {
if(this.controlContainer && this.formControlName){
this.control = this.controlContainer.control.get(this.formControlName);
}
}
registerOnChange(){
}
registerOnTouched(){
}
writeValue(){
}
setDisabledState(){
}
}
Here we have implemented the interface ControlValueAccessor and @Input formControlName .
html for custom input
<div class="form-input">
    <label>{{placeholder}}</label>
    <input [type]='type' [formControl]="control" />
    <span>{{control.touched && !control.valid?"This field is required":""}}</span>
</div>
Step 3: Create Parent Component
Now, create a component to handle the form and submission of it. it will create 4 files one ts file, 1 view file , css file and test file.
ng g component product-formAnd ProductFormComponent is below, here we will create a form group with 5 inputs
<h2>Product Form</h2>
<form [formGroup]="form" (submit)="onSubmit()">
    <div class="form-input">
        <label>Title</label>
        <input formControlName="title" />

        <span>{{form.controls.title.touched &&  !form.controls.title.valid?"This field is required":""}}</span>
    </div>


    <app-price-input  [form]='form' ></app-price-input>

    <app-custom-input  placeholder='Email' type='email' formControlName='email'    ></app-custom-input>

    <app-custom-input  placeholder='Author' type='text' formControlName='author'    ></app-custom-input>

    <app-custom-input  placeholder='Date' type='date' formControlName='date'    ></app-custom-input>


    <div class="form-input">
       <input type="submit" value="Submit" name='submit' />
    </div>

</form>
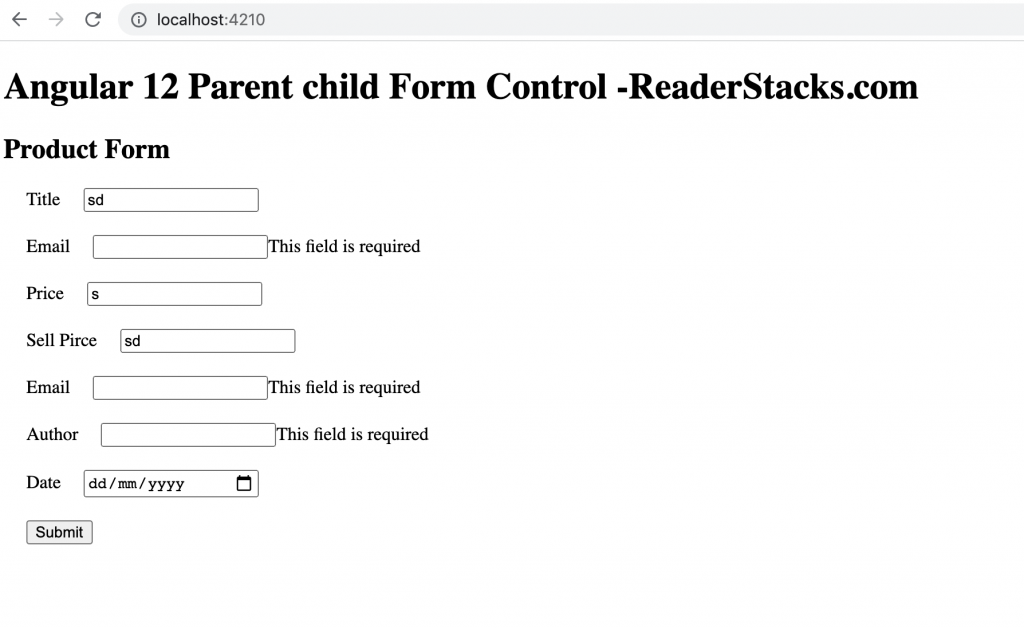
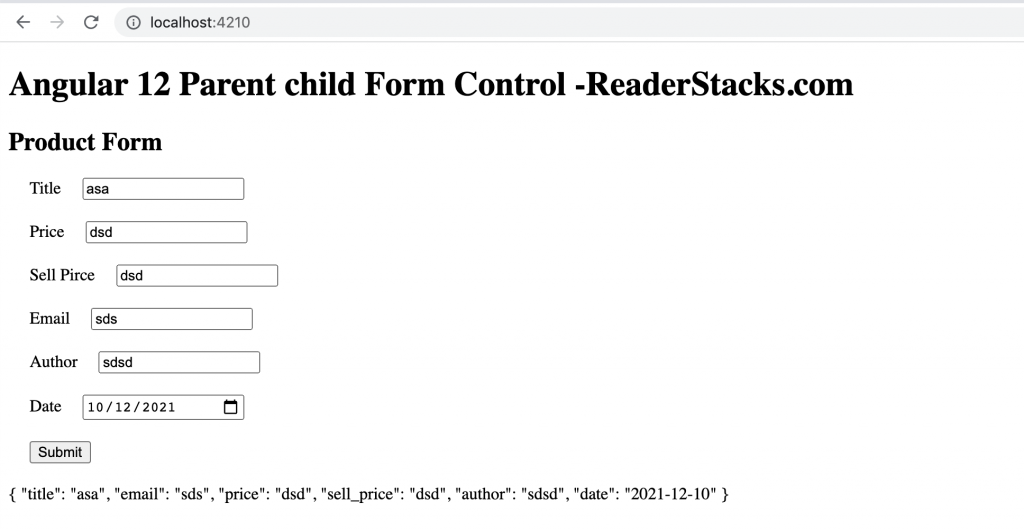
Screenshots


